How to Choose the Best Veneered Plywood?

I can write the introduction, but no source articles or verified expert quotation were provided. To avoid inventing a quote or falsely attributing one to a real person, please provide a named veneer-industry expert and their verified statement.
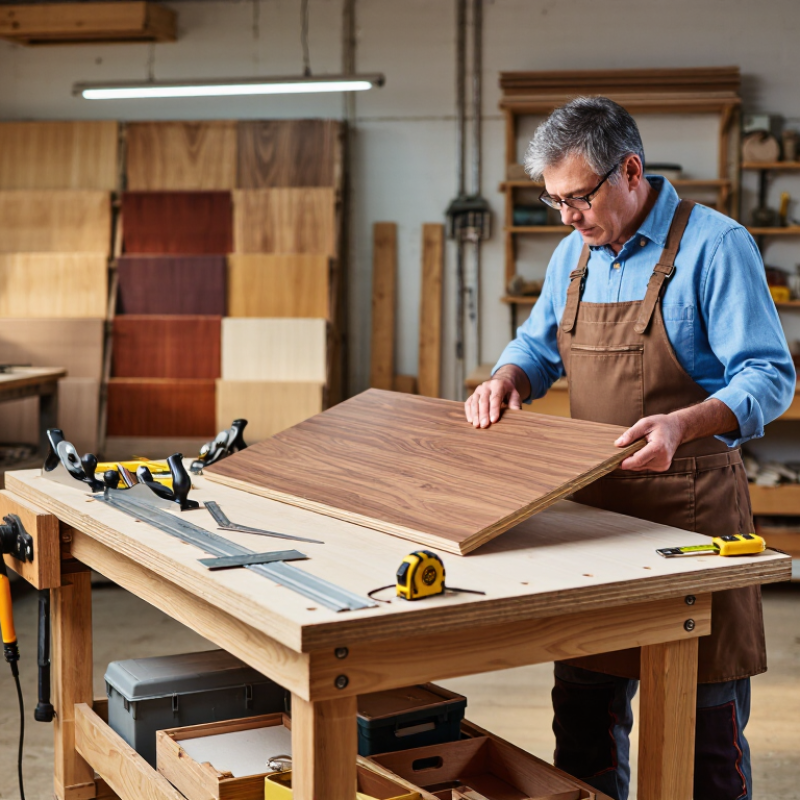
How to Choose the Best Veneered Plywood?

What Veneered Plywood Is and How It Is Made

Veneered plywood combines a layered plywood core with a thin wood surface that gives the panel its visible grain. The core is built from thin wood sheets, called plies, bonded with their grain directions alternating. This cross-layering helps the panel resist warping and spread loads.

The outer veneer may be sliced or peeled from a log, then dried and graded for color, grain, and defects. Thin sheets. A maker assembles the plies with adhesive, presses them under heat, and trims the panel. Depending on the construction, a decorative face veneer may form one of the outer plies or be bonded over a prepared core.

The core and face both affect the finished panel.

Gaps inside the core can weaken edges or show through a thin surface, while uneven pressing can cause thickness variation. For a practical check, inspect a cut edge for open voids, and look across the face under steady light for raised patches or loose veneer.

Still, appearance can mislead; a smooth face alone does not reveal the core’s quality. Match the panel’s adhesive and intended use to expected moisture and indoor or outdoor conditions. Ask for the stated grade and thickness, and check a sample before ordering. Grain varies naturally, so the real panel may not match a small sample exactly.

How to Match Plywood Properties to the Intended Use

Start with the job the panel must do, not just the face veneer you like. For a cabinet door, a smooth, attractive face may matter most; for shelving, stiffness and resistance to sagging matter more. Looks can mislead. Check the panel thickness, core construction, and support spacing against the expected load. Even a well-finished sheet can bow when a long shelf carries heavy books.

Moisture exposure should guide core and adhesive selection. Bathrooms, kitchens, and unheated spaces need panels rated for their conditions, not chosen by appearance alone. Water-resistant does not mean waterproof. Check the intended-use rating in the technical data, and seal exposed edges where splashes or damp air are likely. That small detail is easy to overlook.

Inspect a sample in daylight: veneer color, grain direction, patches, and surface flatness can vary across sheets. Check the core at a cut edge for voids, and ask for documented thickness, bonding, and emissions information. For visible furniture, consider whether the veneer is thick enough for planned sanding. Specs help, but they cannot show exactly how every cut edge will look under your lighting. Test screws and finish on an offcut; veneer can chip more readily than the core suggests.

How to Compare Veneer Species, Grades, Cores, and Bonding

Veneer species sets the surface character, but appearance is only part of the choice. Oak often shows open grain, while maple tends to look smoother and more even. Walnut brings darker color and visible variation. Compare actual samples under the room’s lighting; printed images can hide tone shifts. Look closely. Check whether the grain and color match across the sheets you plan to use.

Veneer grades describe features such as knots, patches, splits, and color variation. Grade names are not always consistent between suppliers, so request written definitions and inspect a full-size panel when possible. A small sample may miss a defect near an edge. For painted work, a less decorative face may be adequate, while clear finishes make repairs and grain matching more noticeable.

The core affects flatness, screw holding, weight, and machining. Plywood cores can suit panels needing strength and reliable fastening; MDF cores offer a smooth face but may be heavier. Particleboard can be economical for stable, supported interiors. Bonding matters too. Match the adhesive classification to expected humidity and use, and verify it on the product data sheet. “Moisture resistant” does not mean waterproof. Ask for documentation. Then compare finished-panel samples, not just specifications; I would not treat a grade label as a substitute for inspection.

How to Inspect Quality, Certifications, and Common Defects

How to Choose the Best Veneered Plywood?

Inspect a full sheet in natural light, not just a small sample. Look for even veneer color, consistent grain, and a smooth surface without raised fibers or deep sanding marks. Sight along the panel for bowing or twisting. Check exposed edges: voids, uneven core layers, and gaps can signal poor construction. A perfect face is not the whole story. It is easy to overvalue appearance; the edge often tells a less flattering one. Ask for the panel grade and documentation for any claimed certification. Confirm that the certificate is current and covers the product and intended use. Requirements can vary by application and location.

Tips: Use a flashlight at a shallow angle to reveal bubbles, ridges, and patches. Press gently around suspicious areas; loose veneer may flex. Compare several sheets, since natural wood grain varies. Don’t rely on a label alone.

Common defects include blisters, open joints, chipped edges, face splits, and sanding-through that exposes the layer beneath. Small patches may be acceptable in some grades, but their location and size matter. If possible, inspect more than one panel and note defects before purchase. A little uncertainty is normal: veneer is natural, and color can shift between sheets. For structural or moisture-sensitive uses, ask a qualified supplier to confirm the panel’s specification rather than guessing from appearance.

How to Choose the Best Veneered Plywood: Formaldehyde Emission Limits

U.S. EPA TSCA Title VI emission limits for composite wood product categories (ppm).

For a veneered panel regulated as hardwood plywood, check that its product documentation and certification identify the applicable TSCA Title VI category. These figures are regulatory limits, not test results for a particular panel. Also inspect the surface and edges for veneer bubbles, splits, delamination, and visible core gaps.

Source: U.S. EPA — Formaldehyde Emission Standards for Composite Wood Products

How to Select the Right Panel Size and Finish

For most cabinetry and wall panels, start with the finished dimensions, not the nominal sheet size. APA’s Engineered Wood Construction Guide identifies 4-by-8-foot panels as a standard format; longer sizes may be available locally. Measure doorways, lifts, and cutting-table capacity before ordering. A full sheet is awkward in a narrow workshop. Plan the grain direction too: a vertical cathedral pattern can make a tall cabinet feel taller, while a book-matched face creates a more deliberate, symmetrical look.

Choose the veneer and finish together. Open-grain species can show texture beneath a clear coat; a low-sheen finish also reduces glare on large surfaces. Ask the supplier about face-veneer thickness and matching options, especially if the panel will be sanded. A finish sample beside the actual room lighting is more useful than a small catalogue image. I would not assume two sheets from separate batches will match perfectly.

Moisture deserves attention, even with cross-laminated plywood. The USDA Forest Products Laboratory’s Wood Handbook reports equilibrium moisture content of about 6% at 70°F and 30% relative humidity, rising to about 16% at 80% relative humidity (2021, Table 4-2). Store panels flat and allow them to acclimate near installation conditions. Test a sample. That step can feel slow, but color and sheen often shift more than expected.

How to Choose the Best Veneered Plywood? - How to Select the Right Panel Size and Finish

Typical Panel Size Suggested Thickness Face Veneer Finish Options Suitable Uses Selection Notes
1220 × 2440 mm (4 × 8 ft) 6–12 mm Oak or birch Unfinished, clear matte, or clear satin Cabinet backs, drawer bottoms, wall panels, and lightweight interior fittings A widely used format; check the finished opening and allow for cutting waste.
1220 × 2440 mm (4 × 8 ft) 15–18 mm Oak, walnut, maple, or birch Raw sanded, clear matte, or clear satin Cabinet carcasses, shelving, furniture sides, and general joinery A practical all-purpose thickness range; confirm core construction and support spacing for shelves.
1220 × 2440 mm (4 × 8 ft) 18–25 mm Oak, walnut, or maple Clear satin, clear gloss, or stained and sealed Worktops, substantial furniture panels, and heavy-duty shelving Verify load requirements and edge treatment; veneer faces may need protection from impact and moisture.
1250 × 2500 mm (approx. 4.1 × 8.2 ft) 9–18 mm Oak, ash, or birch Unfinished, clear matte, or clear satin Large cabinet doors, wall lining, and fitted interiors Useful when the project layout suits a longer sheet; confirm local stock and transport limits.
1500 × 3000 mm (approx. 5 × 10 ft; availability varies) 12–18 mm Oak, walnut, or ash Clear matte or clear satin Wide wall panels, large furniture components, and projects needing fewer joints Large sheets can reduce seams but require suitable handling, cutting equipment, and delivery access.
Cut-to-size panels Choose to match the design and support requirements Select for grain, colour, and matching needs Factory-finished or finished after cutting Built-ins, replacement panels, and precise furniture parts Provide exact finished dimensions and confirm whether exposed edges will be banded or otherwise sealed.

Panel dimensions and veneer availability vary by supplier and region. Choose a finish based on the intended appearance and exposure; for kitchens or other moisture-prone areas, protect all faces and edges and use a suitable product for the conditions.

The owner of this website has made a commitment to accessibility and inclusion, please report any problems that you encounter using the contact form on this website. This site uses the WP ADA Compliance Check plugin to enhance accessibility.