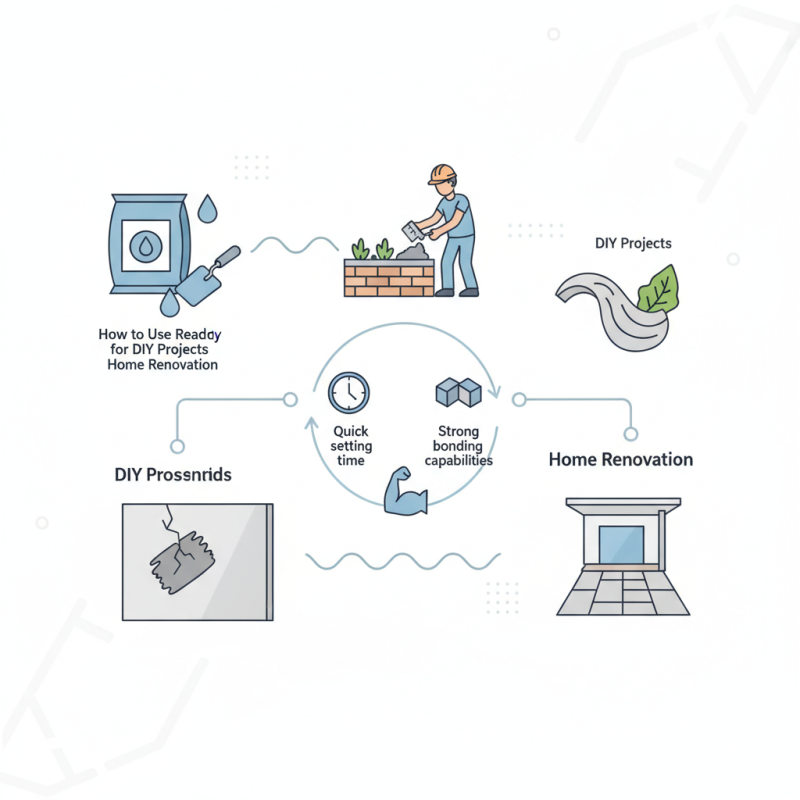
How to Use Ready Cement for DIY Projects and Home Renovation
Ready cement is an essential material for various DIY projects and home renovations, offering convenience and versatility for both novice and experienced homeowners alike. As a pre-mixed solution, ready cement streamlines the construction process, allowing individuals to tackle a wide range of tasks, from creating sturdy foundations to crafting intricate decorative elements. This article aims to provide valuable insights into the effective use of ready cement, empowering you to enhance your living space with ease.
Whether you are aiming to repair a cracked wall, build a garden planter, or create a modern patio, understanding how to utilize ready cement properly can make all the difference in achieving professional-looking results. With its quick setting time and strong bonding capabilities, ready cement not only simplifies the application process but also ensures durability in your projects. Throughout this piece, we will explore practical tips, techniques, and common applications that will help you unlock the full potential of ready cement, transforming your home effortlessly.
Understanding Ready Cement and Its Types for Home Renovation
Ready cement, also known as ready-mix concrete, is a versatile material commonly used in various DIY projects and home renovations. Understanding the different types of ready cement is crucial for effectively executing your projects. Primarily, ready cement can be categorized into two main types: standard ready-mix concrete and specialty mixes. Standard ready-mix is ideal for general construction purposes, while specialty mixes, such as lightweight or high-strength concrete, cater to specific needs, offering more tailored solutions for diverse applications. According to the American Concrete Institute, the use of ready-mix concrete is projected to grow at a compound annual growth rate (CAGR) of 5.1% from 2021 to 2026, underscoring its significance in the renovation market.
When selecting a type of ready cement for your project, consider factors such as strength, workability, and durability. High-strength concrete, for example, is often recommended for structural elements or areas subject to heavy loads, while lightweight concrete can offer ease of handling and reduced overall weight for easier application in various settings. A study conducted by Market Research Future found that the demand for eco-friendly and efficient ready-mix solutions is on the rise, with an expected increase in the adoption of sustainable practices influencing product development. Understanding these types of ready cement will empower homeowners and DIY enthusiasts to make informed decisions, ensuring their renovation projects are both successful and sustainable.
How to Use Ready Cement for DIY Projects and Home Renovation
| Type of Ready Cement |
Best Used For |
Mix Ratio |
Curing Time |
| Standard Portland Cement |
General construction, slabs, walls |
1:2:4 (Cement: Sand: Gravel) |
28 days for full strength |
| Rapid-Set Cement |
Quick repairs, thin overlays |
1:1 (Cement: Water) |
1-2 hours for initial set |
| High-Strength Cement |
Heavy load-bearing structures |
1:1:2 (Cement: Sand: Gravel) |
28 days for full strength |
| Mortar Cement |
Bricklaying, stone masonry |
1:3 (Cement: Sand) |
7 days for optimal bond strength |
| Concrete Mix |
Driveways, sidewalks, foundations |
1:2:3 (Cement: Sand: Gravel) |
28 days for full strength |
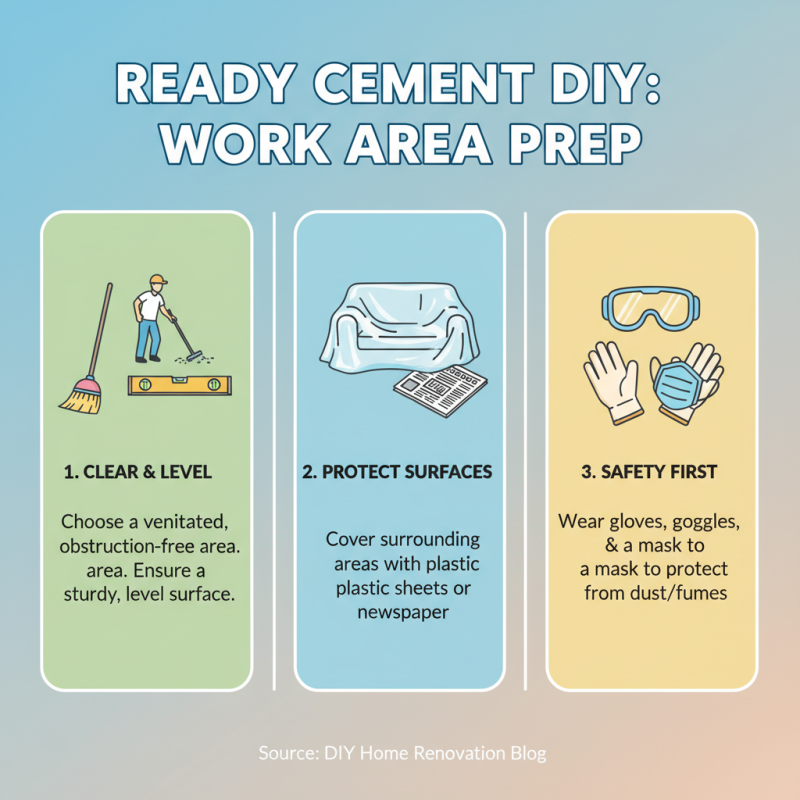
Preparing the Work Area and Tools for Using Ready Cement Effectively
Preparing the work area and gathering the right tools are crucial steps when working with ready cement for your DIY projects and home renovations. Begin by selecting a suitable location that is well-ventilated and free from any obstructions. Ensure that the surface where you'll be working is level and sturdy. It’s also wise to cover the surrounding areas with plastic sheets or newspapers to protect them from any potential spills or splashes. Safety should be your top priority, so don’t forget to wear gloves, goggles, and a mask to protect yourself from dust and fumes.
Tips: Make sure to have all your tools on hand before starting. Essential tools for working with ready cement include a mixing bucket, a trowel, a float, and a level. This preparation helps to streamline the process and prevents interruptions that could lead to mistakes or poor results. Additionally, check the weather conditions; if you're working outdoors, avoid rainy days or extremely high temperatures, as these can adversely affect the cement’s setting time.
As you set up your workspace, consider organizing your tools and materials within arm's reach. This arrangement not only enhances efficiency but also minimizes the risk of accidents when you’re handling wet cement. Lastly, familiarize yourself with the mixing instructions on the ready cement packaging, as precise measurements and mixing ratios are essential for achieving the best results in your projects.
Mixing and Applying Ready Cement: Best Practices and Techniques
Mixing ready cement requires careful attention to detail to achieve the best results for your DIY projects. Start by gathering your materials: ready cement, water, a mixing container, and a trowel. It's critical to follow the manufacturer's instructions for the ideal water-to-cement ratio, which usually ranges from 1:1 to 1:3, depending on the specific project. Begin by adding water to the mixing container first, followed by the dry cement gradually. This method helps to avoid clumps and ensures a smoother mix. Use a trowel or mixing paddle to combine thoroughly until you achieve a consistent, workable texture that is not too dry or overly watery.
When applying ready cement, technique is just as important as mixing. For larger areas, using a trowel or a float can help achieve a level finish. Start by pouring the mixed cement into the desired area and spreading it evenly. If you're working on smaller projects or intricate details, a smaller trowel will provide better control. For surfaces that will be exposed to moisture, consider adding a sealer once the cement is fully set. It's advisable to work in manageable sections to ensure even application and minimize the risk of the cement setting before you finish. Taking the time to properly mix and apply your ready cement will lead to strong, durable finishes that enhance your home renovation efforts.
Usage of Ready Cement in DIY Projects
Common DIY Projects Using Ready Cement with Industry Statistics
Ready cement is a versatile material ideal for various DIY projects and home renovations. According to industry statistics, around 63% of homeowners actively engage in home improvement projects each year, with ready cement being a popular choice due to its ease of use and quick-setting properties. Common projects include building outdoor patios, creating garden paths, and forming decorative concrete slabs.
When using ready cement, ensure you have the right tools and materials on hand. Mixing it correctly is crucial; aim for a workable consistency that is neither too dry nor too runny. Start with small batches to avoid waste and always wear protective gear, such as gloves and a mask, to keep safe from dust and potential irritants.
For optimal results, consider the climate conditions before starting your project. If working in cooler weather, mix the cement with warm water to help it cure effectively. Also, it is advisable to keep the surface moist for the first few days after pouring; this can enhance the strength and durability of your concrete structure.
Safety Precautions and Maintenance Tips for Ready Cement Work
When working with ready cement for DIY projects and home renovations, prioritizing safety precautions is essential. According to the Occupational Safety and Health Administration (OSHA), employees working with cement and similar materials face potential hazards such as dust inhalation and skin exposure. To mitigate these risks, wearing personal protective equipment (PPE) such as gloves, safety goggles, and respiratory masks is highly recommended. Proper ventilation in the work area is also crucial, as it helps to minimize exposure to harmful dust particles that can lead to respiratory issues.
Maintaining a clean workspace is another critical aspect when handling ready cement. The American Concrete Institute emphasizes that spilled cement powder should be promptly cleaned up to prevent slips and falls, which are common accidents on construction sites. Additionally, considering the curing process of cement, it's important to monitor the moisture levels in the surrounding environment. Keeping a consistent humidity level helps in achieving optimal strength and durability of the cured cement, reducing the likelihood of cracks and structural failures post-installation. Regular inspections and adherence to best maintenance practices can significantly enhance the quality of your DIY projects, ensuring safety and longevity.