10 Tips for Buying Cement at Home

Buying cement for a home project can seem straightforward: choose a bag, pay, and start mixing. Yet the wrong type, damp packaging, or an unrealistic quantity can waste time and money. This guide, “10 Tips for Buying Cement at Home,” focuses on practical checks before purchase. Think about the job first. A garden path, a repair patch, and a load-bearing structure may call for different products or professional advice. Check the bag label and manufacturer’s instructions rather than relying on a familiar brand name alone. Small details matter. Look for intact, dry bags with readable dates and product information. If a bag feels lumpy or has hardened patches, ask the seller about its condition. Do not assume a discount makes it a bargain.

Compare prices by bag size and cement type, not by headline price alone. Ask about delivery charges, unloading, and whether bags might sit exposed to rain. Store cement off the floor, under a waterproof cover, and use it within the period stated by the manufacturer. Keep the quantity close to your measured need; extra bags can absorb moisture in a shed or garage. A simple calculation helps, though mixing losses and uneven ground can change the estimate. That is easy to overlook. For structural work, follow local building requirements and seek guidance from a qualified builder or engineer. Product needs vary by climate, project, and supplier, so verify rather than guess. The aim is not simply to buy the cheapest bag. It is to choose suitable, fresh cement and handle it carefully from delivery onward.
10 Tips for Buying Cement at Home

Define the Project and Estimate Cement from the Specified Mix Design

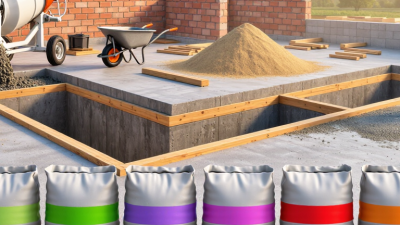
Before buying cement, define the structure, dimensions, and required concrete strength. A patio slab measuring 4 m by 3 m by 0.10 m needs 1.2 m³ of concrete before allowances. Measure carefully; an uneven subgrade can quietly increase the volume.

Use the project’s specified mix design, not a generic cement-to-sand ratio. ACI 211.1-22 describes proportioning concrete by absolute volume, accounting for cement, water, aggregates, and air. Suppose the approved design calls for 350 kg of cement per cubic metre. For 1.2 m³, that equals 420 kg. If you allow 5% for handling loss and small measurement errors, plan for about 441 kg, or 18 bags at 25 kg each. That allowance is a practical estimate, not an ACI requirement.

Check the mix documents for cement content, strength, exposure conditions, and aggregate size. ASTM C94/C94M sets requirements for ready-mixed concrete, including ordering by volume and specified properties. For bagged materials, confirm each bag’s net weight and whether the recipe is stated per batch or per cubic metre. Keep the paperwork. Small detail, big difference. If the design is unclear, ask the supplier or a qualified professional to verify the quantities before purchase; I would not guess from a rule-of-thumb mix.

Match Cement Type to Use: ASTM C150 Portland Cement Types I–V

ASTM C150 Type I Portland cement suits ordinary repairs, fence-post footings, and small walkway pours without unusual exposure. It is the common general-purpose choice. Type II offers moderate sulfate resistance and moderate heat development, making it worth considering where soil or groundwater tests show moderate sulfate levels. Type V is intended for high sulfate exposure; don’t choose it based on guesswork. A soil report is more useful than a bag’s front label. ASTM C150 defines cement requirements, but it cannot tell you what is in your soil.

Type III develops strength quickly, which can help when cool weather or an early form-removal schedule matters. It is not a shortcut around proper curing. Type IV limits heat development and is mainly relevant to large concrete placements, not most home projects; availability may also be limited. The USGS Mineral Commodity Summaries 2024 estimated U.S. cement production at 91 million metric tons in 2023, but scale does not make every type interchangeable. Small bag? Check twice. Read the full ASTM designation, confirm the intended exposure with project specifications, and follow the mix instructions. I’d avoid selecting Type V “for extra strength”: sulfate resistance and compressive strength are different properties.

Compare EN 197-1 Strength Classes: 32.5, 42.5, and 52.5 MPa

When buying cement for a home project, treat 32.5, 42.5, and 52.5 as strength classes, not quality grades. Under EN 197-1, the number refers to compressive strength measured on standard mortar after 28 days. A higher number means a higher standardised strength level. It does not promise the same strength in your finished concrete. Mix proportions, water, compaction, and curing all matter. That distinction is easy to miss.

For routine work, 32.5 may be suitable, while 42.5 or 52.5 can fit projects with higher strength needs or tighter schedules. But the class alone is not enough. Check the cement type and any N or R marking, which indicates a normal or higher early-strength category. Ask what the project specification requires before paying extra for a higher class. I would not choose 52.5 simply because it sounds stronger; that can be an unnecessary expense. Keep the bag dry. Reject cement with hard lumps, and check its date and packaging condition. Small details matter.

10 Tips for Buying Cement at Home - Compare EN 197-1 Strength Classes: 32.5, 42.5, and 52.5 MPa

# Buying tip 32.5 class 42.5 class 52.5 class What to check or do
1 Match the strength class to the job 28-day mortar strength: 32.5–52.5 MPa 28-day mortar strength: 42.5–62.5 MPa 28-day mortar strength: at least 52.5 MPa Choose cement specified for the project. Higher cement strength class does not automatically mean stronger concrete; mix design and curing also matter.
2 Read the full strength designation May be marked 32.5 N or 32.5 R May be marked 42.5 N or 42.5 R May be marked 52.5 N or 52.5 R Under EN 197-1, N denotes ordinary early strength and R denotes high early strength. Check the complete label, not just the number.
3 Compare early-strength requirements 32.5 N: at least 16 MPa at 7 days; 32.5 R: at least 10 MPa at 2 days 42.5 N: at least 10 MPa at 2 days; 42.5 R: at least 20 MPa at 2 days 52.5 N: at least 20 MPa at 2 days; 52.5 R: at least 30 MPa at 2 days If early strength matters, compare the N/R designation and the product’s technical information. These are standard test requirements, not a guarantee of job-site results.
4 Check the cement type as well as the class Strength class alone does not identify composition Strength class alone does not identify composition Strength class alone does not identify composition Look for the EN 197-1 cement type and designation (for example, CEM I or CEM II), then confirm it is suitable for the intended application.
5 Verify standards and documentation Check the stated EN 197-1 designation Check the stated EN 197-1 designation Check the stated EN 197-1 designation Where applicable in your market, check the declaration of performance and conformity information. Compressive strength testing for cement is covered by EN 196-1.
6 Inspect the bag and seal — — — Choose intact, dry packaging. Avoid bags that are torn, damp, heavily caked, or visibly contaminated.
7 Check the production date and storage guidance — — — Buy a quantity you can use promptly. Follow the supplier’s shelf-life and storage instructions; keep bags dry, sealed, and off the ground.
8 Compare net weight and total cost — — — Compare price per kilogram or tonne, not just price per bag. Include delivery charges and confirm the declared net mass.
9 Plan the quantity and delivery — — — Estimate quantities from the project specification or a reliable mix design. Arrange delivery to a dry storage area and avoid buying more than you can protect.
10 Follow safe handling instructions — — — Cement dust can irritate the eyes and respiratory system, and wet cement can damage skin. Follow the safety instructions and use suitable protective equipment.

Note: The MPa values shown are EN 197-1 cement mortar compressive-strength requirements at the stated ages. They are not direct predictions of the strength of concrete or mortar made on site. Always follow the project specification and product instructions.

Inspect Seals, Batch Labels, and Bags for Moisture Damage

When buying cement for a home project, inspect each bag before loading it. Look for torn seams, pinholes, damp patches, or corners that feel unusually soft. A dry bag should feel firm, not lumpy. Press lightly through the paper; hard clusters may signal that moisture has reached the powder. Check the seal too. A split or poorly closed seam can let humid air inside, even when the outer surface looks clean.

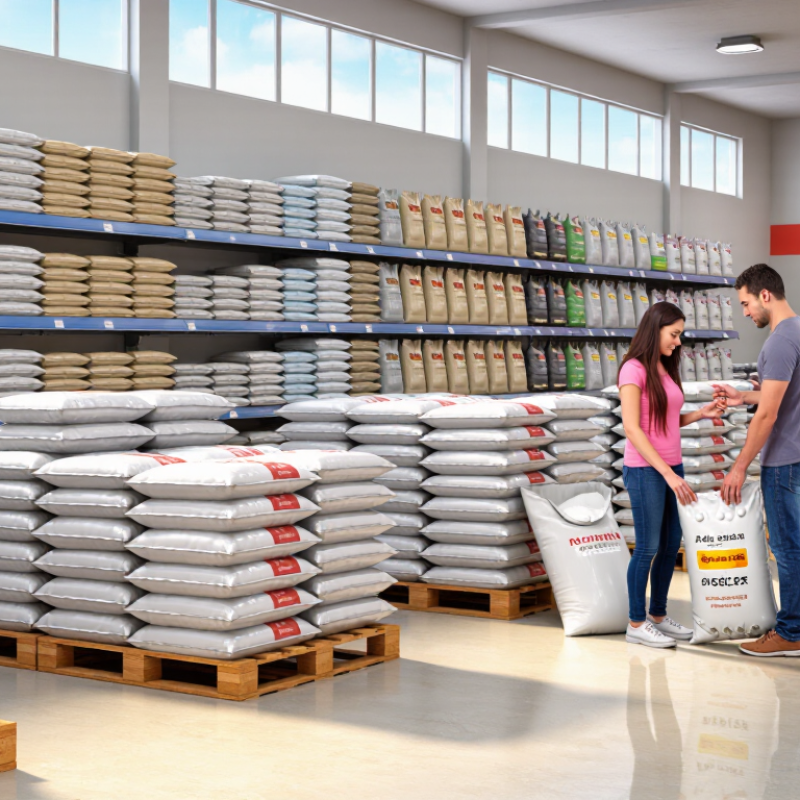
Read the batch label and production date, and make sure the printing is legible. Compare labels across bags if you are buying several; dates or batch details that do not match deserve a question, not an assumption. Ask how the bags were stored. A pallet kept under a roof and raised off the ground is generally a better sign than bags resting beside a wet wall. Check the bottom layer carefully. That is where dampness can hide. If you notice a musty smell, powder stuck to the inner paper, or visible water marks, choose different bags. I once overlooked a softened corner because the rest looked tidy; it was a poor shortcut. If damage is minor but uncertain, ask the seller to open a bag for inspection before purchase.

Plan Delivery and Storage to Keep Cement Dry and Usable

Tip: Plan delivery around the weather and your storage space. Check the forecast, then choose a dry day if possible. Clear a path from the truck to the storage area before the bags arrive. Cement absorbs moisture from damp air and wet surfaces, so avoid leaving bags outside, even briefly. A tarp helps in a pinch, but it is not a substitute for a dry, covered shed.

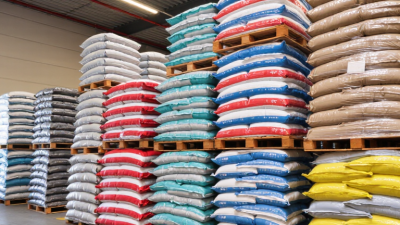
Tip: Keep bags off the floor. Set them on a sturdy pallet, at least 15 centimetres above ground, and leave a little space between the stack and the walls. This reduces the risk of moisture creeping in from concrete or masonry. Cover the stack with waterproof sheeting if the area might get damp. Keep the cover secure, but check underneath for trapped condensation. Small details matter.

Tip: Inspect each bag at delivery. Look for tears, damp patches, or hard lumps, and ask the supplier about damaged bags before accepting them. Store older bags in front and use them first, following the product’s storage guidance. I would not assume an intact-looking bag is always usable; moisture damage can be subtle. If cement has hardened into lumps, check with a qualified supplier rather than trying to crush and use it.

Keep Cement Dry: Practical Storage Clearances

Raise cement bags at least 15 cm above the floor and keep them about 30 cm from walls to help protect them from dampness. Cover bags with a waterproof sheet, keep the cover from trapping moisture, and use older bags first.

The owner of this website has made a commitment to accessibility and inclusion, please report any problems that you encounter using the contact form on this website. This site uses the WP ADA Compliance Check plugin to enhance accessibility.